
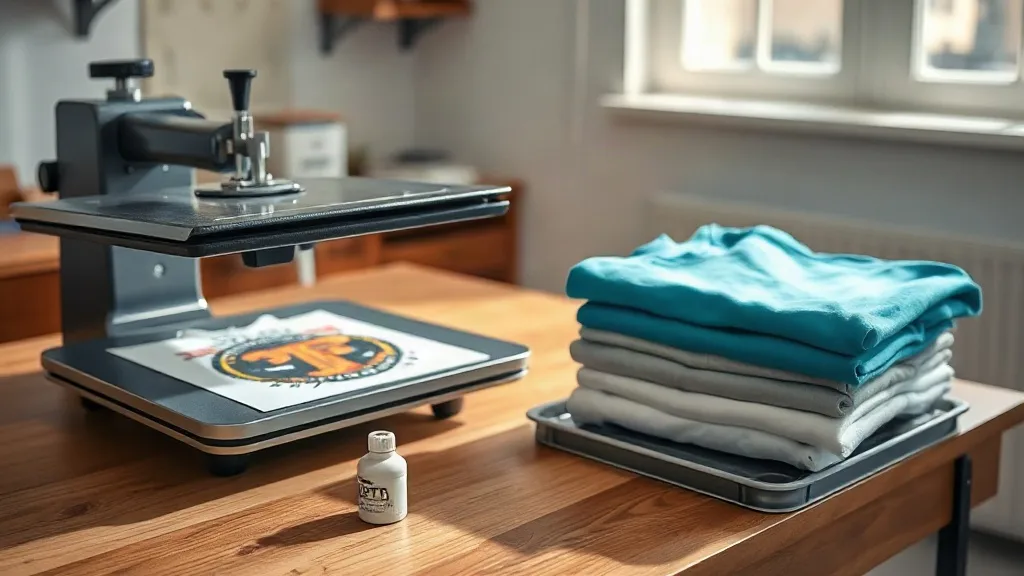
When you walk into a small print shop, you can usually tell within a minute whether the owner has found their rhythm with dtf transfers. There is a certain calm to the workflow: a gangsheet loaded, a press humming, and a stack of finished shirts that look like they came off a much larger production line. That calm did not happen by accident. It came from understanding what DTF can and cannot do, and from building a process around those limits. This guide is for the shop owner or apparel brand that wants that same calm, without the trial and error.
What DTF Transfers Actually Are (and Why They Matter)
Direct-to-film printing is a digital process. A printer lays down water-based pigment inks onto a special PET film, then applies a hot-melt adhesive powder to the wet ink. The powder fuses under heat, and the result is a transfer that can be pressed onto fabric with a heat press. Unlike screen printing, there is no mesh, no emulsion, and no color separation. Unlike vinyl, there is no weeding. You print, powder, cure, and press. That is the entire cycle.
The reason dtf has spread so quickly through small shops is not just the simplicity. It is the economics. A single A3 sheet can hold a dozen or more small designs, and a gangsheet can hold dozens more. You pay for the film and the ink, not for the number of colors in a design. A seven-color logo costs the same to print as a one-color logo. For a shop that handles a mix of one-off requests and small batch orders, that pricing model is hard to beat.
The DTF Workflow, Step by Step
Understanding the workflow is the first step toward troubleshooting it. Most problems that show up at the press actually started earlier in the process.
1. Design and RIP
You start with a design file, typically a PNG with a transparent background. The RIP software handles color management and lays out the design on the film. This is where you decide the size and placement. A common mistake is sizing a design without accounting for the film margins. Leave at least half an inch of clear film around each design so the powder has room to settle and the cut is clean.
2. Printing
The printer lays down a white ink base first, then the color layer on top. The white base is what makes the transfer opaque on dark garments. If the white layer is too thin, the design will look washed out on a black shirt. If it is too thick, the transfer will feel stiff and may crack. Most printers have a white ink density setting; adjust it based on the fabric you are pressing onto.
3. Powdering and Curing
While the ink is still wet, you apply the adhesive powder. The powder sticks to the wet ink and nowhere else. Then you shake off the excess and cure the film under a heat source, either in a tunnel dryer or with a heat press. The cure melts the powder into a smooth adhesive layer. Under-curing leaves a grainy texture that will not bond properly; over-curing makes the film brittle.
4. Pressing
This is where the transfer meets the garment. Temperature, pressure, and time all matter. A typical press setting is around 300 to 320 degrees Fahrenheit for 10 to 15 seconds with medium pressure. Peel the film while it is still warm for a matte finish, or let it cool for a glossier look. The peel temperature affects the final texture, so decide which look you want before you start.
Fabric Compatibility: What Works and What Doesn't
One of the strongest selling points of dtf transfers is their range. Cotton, polyester, blends, canvas, denim, and even some nylons can take a DTF transfer. That flexibility is why so many shops use DTF as their default method for mixed orders.
That said, not every fabric behaves the same way. On 100% cotton, the transfer bonds well and feels soft after a few washes. On high-polyester garments, the ink can sometimes dye-sublimate into the fabric, which changes the color slightly. On stretchy fabrics like spandex blends, the transfer needs to stretch with the garment, so a thinner ink layer and a proper cure are critical. And on fabrics with a heavy water-repellent finish, the adhesive may not grab at all. Always test a small area before committing to a full run.
Pricing Your DTF Work Without Leaving Money on the Table
Pricing is where a lot of shops get into trouble. They look at the cost of a film sheet and a few grams of powder and assume the margin is huge. But the real cost includes ink, film, powder, labor, press time, and the occasional reprint. A design that takes five minutes to press still ties up a press that could be running something else.
A practical approach is to calculate a cost per square inch of film, then add a labor factor based on your shop's hourly rate. For a small design, that might work out to a dollar or two in materials. For a full back print, it could be four or five dollars. Then you mark up from there based on the value to the customer, not just the cost. A custom shirt for a local band is worth more than the sum of its materials, and your pricing should reflect that.
Common Pitfalls and How to Avoid Them
Most DTF problems fall into a few predictable categories. Here is what to watch for.
- Powder contamination: If powder gets onto the clear areas of the film, it will press onto the garment as a cloudy patch. Keep your powder station clean and use a dedicated tray.
- Inconsistent pressure: A press that is not level will produce transfers that peel at the edges. Check your press with a pressure gauge or a simple paper test.
- Pressing too hot: Excessive heat can scorch the film and leave a shiny mark on the garment. Stay within the manufacturer's recommended range.
- Skipping the test press: Every new fabric or blank deserves a test. It takes two minutes and saves a reprint.
If you are sourcing transfers from a supplier rather than printing in-house, ask about their cure and powder process. A well-made transfer from a reputable source will press consistently, which removes a lot of variables from your shop. Many shops find that ordering dtf transfers near me from a local supplier cuts shipping time and lets them troubleshoot in person.
When to Choose DTF Over Other Methods
DTF is not the right answer for every job. For a 500-piece run of a single-color logo, screen printing will usually be faster and cheaper per unit. For a job that needs a soft hand feel on a lightweight tri-blend, DTF might feel a bit heavier than you want. But for short runs, multi-color designs, and orders that mix garment types, DTF is often the most practical choice.
The key is to match the method to the job. A shop that offers both screen printing and DTF can quote each job based on what will serve the customer best, rather than forcing every order through one process. That flexibility is a selling point in itself.
Frequently Asked Questions
How long do DTF transfers last after pressing?
With proper pressing and care, a DTF transfer can last as long as the garment. Wash the shirt inside out in cold water and avoid ironing directly over the print. Most failures come from improper pressing or washing with heavy abrasives, not from the transfer itself.
Can I press DTF transfers onto hats and caps?
Yes, but it takes a bit of practice. The curved surface makes it harder to get even pressure. A hat press attachment or a small dedicated press helps. Use a lower temperature and a slightly longer dwell time to avoid scorching the cap's brim.
What is the difference between DTF and DTG?
DTG prints directly onto the garment, which limits it mostly to cotton. DTF prints onto a film first, then transfers to the garment, which opens up polyester and blends. DTF also tends to have a more consistent white on dark fabrics.
Do I need a special printer for DTF?
You can convert some inkjet printers to DTF with a RIP and DTF inks, but dedicated DTF printers are built for the white ink circulation that the process requires. If you are printing regularly, a dedicated unit will save you a lot of maintenance headaches.
How do I store unused DTF transfers?
Keep them flat, dry, and away from direct sunlight. A cool drawer or a sealed bag works well. Avoid stacking heavy items on top, as the powder layer can crack under pressure.
Building a DTF Process That Scales
The shops that get the most out of DTF are the ones that treat it as a system, not a trick. They standardize their press settings, keep a log of what works for each fabric, and train everyone on the same workflow. They also build relationships with suppliers who can deliver consistent film and powder, because inconsistency at the input stage shows up at the press.
If you are just starting, resist the urge to take on every job that comes through the door. Pick a few garment types, dial in your settings, and get comfortable before you expand. The margin in DTF comes from repeatability, not from squeezing every last inch out of a gangsheet. Once your process is stable, you can scale it with confidence.