
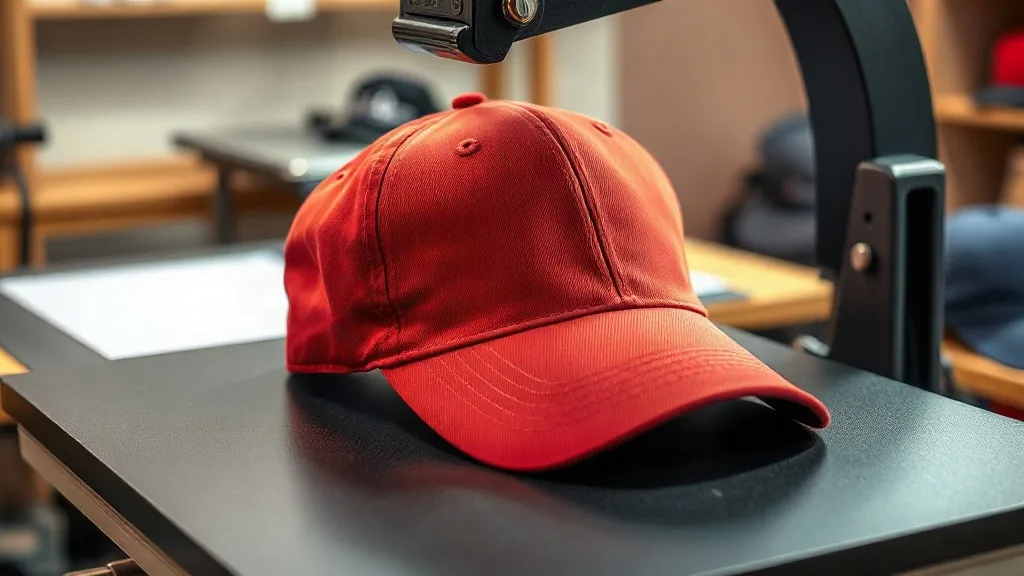
Applying dtf transfers to hats and caps opens up a profitable niche for print shops and a world of customization for brands. But headwear is not a flat shirt: curves, seams, and structured fronts demand a different approach. This guide walks you through the entire process, from selecting the right cap to mastering the press, so you can deliver crisp, long-lasting prints every time.
Why DTF Works Well for Headwear
DTF (direct-to-film) printing has become a go-to method for decorating apparel because it handles intricate details, vibrant colors, and a wide range of fabrics. For hats and caps, DTF offers distinct advantages over embroidery or screen printing. It can reproduce fine lines, small text, and photographic images that would be impossible to stitch. Unlike screen printing, DTF doesn't require a separate screen for each color, making short runs and one-offs economically viable. Plus, the transfers are flexible enough to move with the fabric without cracking.
Choosing the Right Cap for DTF
Not all caps are created equal when it comes to DTF. The surface you press onto plays a huge role in adhesion and durability. Here's what to look for:
- Fabric content: Cotton and cotton blends are ideal. Polyester can work but may require lower temperatures to avoid dye migration or scorching. Avoid caps with heavy water-repellent coatings; the transfer won't bond.
- Structure: Unstructured caps (soft crowns) are easier to press because they conform to the platen. Structured caps with a stiff front panel need a special hat press or a pressing pillow to distribute pressure evenly.
- Seams and panels: Avoid placing the transfer directly over a thick seam or the button on top. The surface must be as smooth as possible for full contact.
- Color: Light-colored caps hide dye migration better. If you're pressing onto dark polyester, use a low-bleed transfer or a barrier sheet.
Always test on a spare cap before committing to a production run. A quick test press will reveal how the fabric reacts to heat and pressure.
Preparing the Cap for Pressing
Proper preparation is half the battle. Start by pre-pressing the cap for a few seconds to remove moisture and wrinkles. This step also helps the fabric settle into the shape of the platen. If the cap has a stiff front, use a hat press with a curved platen that matches the cap's contour. For unstructured caps, a pressing pillow placed inside the crown provides a firm, even surface.
Make sure the area where the transfer will go is free of lint and dust. A quick wipe with a lint roller or a compressed air blast can save you from a ruined print. Also, check that the cap is completely dry; any residual moisture can cause the transfer to bubble or peel.
Setting Up the Press
Temperature, pressure, and time are the trio that determines success. For most DTF transfers on caps, aim for 300°F to 320°F (150°C to 160°C). Pressure should be firm and even, but not so heavy that it flattens the cap's shape. A hat press with adjustable pressure is ideal. If you're using a flat press, you'll need a pressing pillow to create a curved surface.
Preheat the press to the target temperature and let it stabilize for a few minutes. A laser thermometer can help you verify the actual platen temperature, as dials can be off. Once you're ready, place the cap on the platen, ensuring the print area is centered and smooth.
Applying the Transfer
Peel the transfer from its backing sheet and position it on the cap with the adhesive side down. If the design has fine details, use a heat-resistant tape to hold it in place. Cover the transfer with a protective sheet (Teflon or parchment) to prevent sticking and to distribute heat evenly.
Press for 10 to 15 seconds with firm pressure. Then, lift the press and peel the carrier sheet while the transfer is still hot. For cold-peel transfers, wait until it cools completely before peeling. Always follow the transfer supplier's instructions, as formulations vary.
After peeling, cover the design with a Teflon sheet and press for another 5 to 10 seconds to set the ink into the fabric. This second press improves wash durability and smooths out any slight texture.
Common Challenges and Solutions
Even experienced operators run into issues when pressing caps. Here are some common problems and how to fix them:
- Incomplete adhesion: Usually caused by insufficient pressure or an uneven surface. Use a pressing pillow and increase pressure gradually.
- Transfer shifting: Secure the transfer with heat tape before pressing. Also, make sure the cap is flat and stable on the platen.
- Scorching or discoloration: Reduce temperature or shorten press time. Use a protective sheet to diffuse heat.
- Peeling after washing: Ensure you perform the post-press set. Also, check that the fabric is compatible; some coatings repel the adhesive.
Keep a log of your settings for each cap style and fabric. Over time, you'll build a reference that speeds up production and reduces errors.
Design Considerations for Caps
Hat designs need to account for the curved surface and the cap's structure. Large, solid blocks of color can look distorted when wrapped around a curve. Fine details and small text may be lost if placed too close to a seam. Keep important elements within a safe area and avoid placing them near the cap's button or eyelets.
For front panels, a height of 2 to 2.5 inches is typical for a logo. If you're printing on the side or back, adjust the size accordingly. Remember that the transfer will not stretch as much as the fabric, so avoid designs that span across seams or highly curved areas.
Wash and Care Recommendations
To keep your DTF-printed caps looking sharp, advise customers to wash them by hand in cold water and air dry. If machine washing, use a gentle cycle and place the cap inside a pillowcase or laundry bag to protect the print. Avoid bleach and fabric softeners, and never iron directly over the design. With proper care, a well-applied DTF transfer can outlast the cap itself.
Frequently Asked Questions
Can I use DTF transfers on structured caps with a stiff front?
Yes, but you need a hat press with a curved platen or a pressing pillow to ensure even pressure. Structured caps require more attention to avoid flattening the crown or getting uneven adhesion.
What temperature should I use for DTF on polyester caps?
Polyester caps generally require lower temperatures to prevent dye migration and scorching. Start at 280°F to 300°F and test. Use a low-bleed transfer or a barrier sheet if the cap is dark polyester.
How do I prevent the transfer from peeling off after washing?
Proper post-pressing is key. After the initial press and peel, cover the design with a Teflon sheet and press again for 5 to 10 seconds. Also, ensure the cap is clean and dry before application and follow the transfer's recommended settings.
Can I layer DTF transfers on a cap?
Layering is possible but tricky on curved surfaces. Press the first layer, then cool completely before adding the second. Use a lower temperature for the second press to avoid remelting the first layer. Keep layers thin to maintain flexibility.
What's the best way to center a design on a cap?
Use a cap pressing jig or a centering tool. Alternatively, fold the cap in half vertically and mark the center with a water-soluble pen. Align the transfer's center with that mark before pressing.